
DIY Toy Storage: Cardboard Box Craft Projects
In todays world, where sustainability and creativity often go hand in hand, turning everyday items into useful and functional pieces not only saves money but also reduces waste. Cardboard Boxes Sydney . One of the simplest and most effective materials for DIY projects is cardboard, a material thats abundant, easy to work with, and incredibly versatile.
DIY Toy Storage: Cardboard Box Craft Projects - Foil stamped cardboard gift boxes
- Custom size cardboard boxes for fragile items
- Child-resistant cardboard packaging boxes for pharmaceuticals
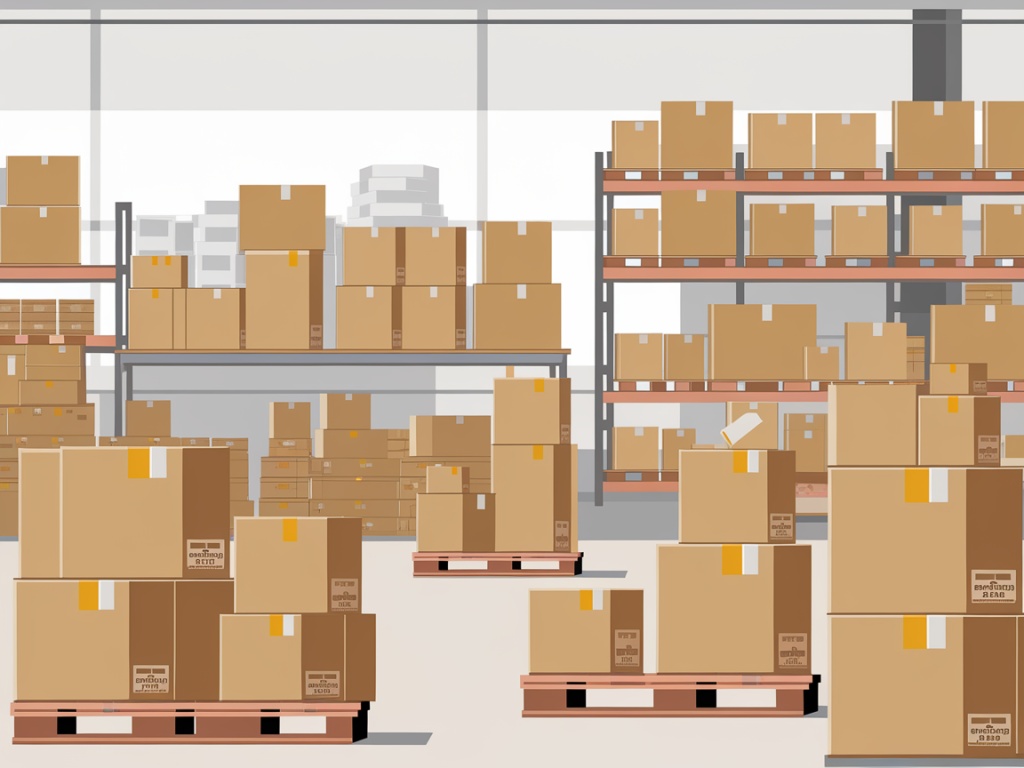
- Cardboard boxes for warehouse storage systems
- Automotive parts cardboard shipping boxes
- Foldable cardboard crates for moving
The Basics of Cardboard Box Crafting
Before diving into the specifics of toy storage projects, it's important to understand the basic principles of working with cardboard. Cardboard is typically made from multiple layers of paperboard, which makes it sturdy yet lightweight. For crafting purposes, corrugated cardboard (the type with the wavy middle layer) is ideal because it provides strength and stability. Always ensure that the cardboard is clean and free from any sharp edges or dust, which can be harmful, especially when working with children.
Tools and Materials Needed
To start your cardboard box craft projects, you will need a few essential tools and materials:
- Corrugated cardboard boxes in various sizes
- Scissors or a box cutter for precise cutting
- Ruler or measuring tape for accuracy
- Pencil for marking
- Glue or tape for assembling
- Paints, markers, or decorative papers for adding color and flair
- Optional: Sandpaper, if you need to smooth out rough edges
Project Ideas for Toy Storage
1.
DIY Toy Storage: Cardboard Box Craft Projects - Foil stamped cardboard gift boxes
- Eco-friendly compostable cardboard shipping boxes
- Biodegradable cardboard packaging materials
- Small kraft cardboard mailing boxes
- Cardboard boxes with pre-scored folding lines
- Anti-static cardboard packaging for electronics
Personalized Bookshelves
- Materials Needed: Large cardboard boxes, paint, markers, stickers, sandpaper, and glue or tape.
- Steps:
- Clean and flatten the cardboard boxes.
- Use a ruler and pencil to mark where you want to cut the boxes into bookshelf sections.
- Carefully cut the boxes along the marked lines.
- Smooth out any rough edges with sandpaper.
- Paint the bookshelf sections and allow them to dry.
- Cardboard boxes for bakery product display
- Cardboard boxes with easy assembly tabs
- Second-hand cardboard boxes for budget packaging
- Foil stamped cardboard gift boxes
- Cardboard boxes with laminated finish
- Decorate with markers, stickers, or by gluing on decorative papers to make them unique.
- Assemble the bookshelf sections using glue or tape.
- Place the finished bookshelf in the desired location and fill with toys or books.
DIY Toy Storage: Cardboard Box Craft Projects - Cardboard boxes with laminated finish
2.
DIY Toy Storage: Cardboard Box Craft Projects - Second-hand cardboard boxes for budget packaging
- Eco-friendly recycled corrugated boxes
- Reinforced cardboard boxes for heavy goods
- Recycled cardboard boxes with eco packaging material
- Cardboard packaging with built-in handles
- International shipping corrugated boxes
Toy Chests
- Materials Needed: Large cardboard boxes, paint, markers, stickers, sandpaper, and glue or tape.
- Steps:
- Select a large, sturdy cardboard box that can fit a significant number of toys.
- Clean and flatten the box.
- Use a box cutter or scissors to carefully cut off the top flaps.
- Sandpaper any rough edges.
- Paint the box in your desired color and let it dry.
- Decorate the box with markers, stickers, or decorative papers.
- Add a handle by cutting a small flap from the top of the box, bending it up, and securing it with glue or tape.
- Place the toy chest in the play area and start filling it with toys.
3. Wall-Mounted Toy Organizer
- Materials Needed: Medium-sized cardboard boxes, paint, markers, stickers, sandpaper, and glue or tape.
- Steps:
- Cut the top flaps off the cardboard boxes and sandpaper any rough edges.
- Paint the boxes and let them dry.
- Decorate the boxes with markers, stickers, or decorative papers.
- Create slots or doors by cutting small sections of the boxes and folding them back to form shelves or compartments.
- Hang the toy organizer on the wall using push pins or strong tape.
- Arrange the toys and organize them according to your preference.
Benefits of Cardboard Box Craft Projects
Creating DIY toy storage solutions from cardboard boxes offers numerous benefits:
- Cost-Effective: Using materials you already have or can find for free reduces costs.
- Sustainable: Recycling and reusing materials promotes sustainability and reduces waste.
- Customizable: You can personalize the storage units to match your space and your child's interests.
- Educational: Engaging in crafting activities can help develop fine motor skills, creativity, and problem-solving abilities.
- Fun: DIY projects are a great way to spend quality time with children and make the process of organizing toys enjoyable.
Conclusion
Embracing DIY projects like crafting toy storage solutions from cardboard boxes is a fantastic way to combine creativity with practicality. Not only does it provide functional storage solutions, but it also offers a fun and engaging activity that can bring families closer together.
DIY Toy Storage: Cardboard Box Craft Projects - Foil stamped cardboard gift boxes
- High quality corrugated board packaging
- Cardboard boxes for e-commerce fulfilment
- Custom PCB packing cardboard boxes
- Bulk mailer cardboard envelopes
- Kraft brown cardboard subscription boxes


![Corner cut carton for beverage cans[19]](https://www.wikipedia.org/wiki/File%3AEco-Products_2010_%285345091717%29.jpg)


